
The OpenEFM has been designed from the beginning to be as simple to install, customize and manage as possible. We hope your installation experience will be quick and painless! However, if you encounter difficulties or rough edges, we'd like to hear from you so that the OpenEFM can continue to mature. Please direct your feedback to openefm at counterclaim.com.
As with most good OpenSource software, the OpenEFM is developed on and designed for a Linux/Unix environment. However, if you are limited to a Windows system, you can install Cygwin and still use the software.
OpenEFM can run in a distributed environment as a J2EE application. A compliant J2EE server, a relational database (RDBMS) and some additional configuration are required to deploy it in this way. Please refer to this addendum for details.
This guide shows you the shortest path to an OpenEFM installation. If you need to customize any file locations, please see the Developer's Guide for guidance. First you will need to create some directories and make sure you have read/write permissions to them.
mkdir -p /var/OpenEFM/logs
mkdir -p /var/OpenEFM/data
Make sure you have a Java JDK 1.4 or higher installed and that your $JAVA_HOME environment variable is set.
echo $JAVA_HOME
. . . If that command produces no output, you will have to define the variable somewhere.
Copy OpenEFM.zip to the directory where you want to install it.
cp OpenEFM.zip
Unzip OpenEFM.zip. This will create an ./OpenEFM/
directory and subdirectories at your present location.
unzip OpenEFM.zip
Make sure the startup script is excutable.
cd bin
chmod +x efm.sh
Currently the default configuration file, "./web/admin/WEB-INF/config.xml", is set up for J2EE operation. In order to run OpenEFM in normal, standalone mode, that file must be changed. There are two XML elements, <model> and <id-factory>, for each of which there is an Ozone-based implementation (for standalone mode) and an EJB mode (you'll notice the characters "EJB" appearing in the names of these elements). Comment out the two EJB elements, and uncomment the two Ozone-based components they replace. There are also a number of ports appearing within URI values in that file, and some of those may need to be changed according to your environment.
If you are running in Windows (under Cygwin), you should also change the paths for the Ozone data and for the log files. Search for "/var/OpenEFM" in that configuration file to find the appropriate definitions.
Run the startup script. It will take a few seconds for the server to initialize before it will respond to requests. If you have created your directories properly, every thing should work!
./efm.sh start
This will start the server as a daemon. You should be able to
read some log output at /var/OpenEFM/logs/efm.log. If
not, or if there was an error message, or if you see no new processes
after starting the server, then there was an error.
Optional: if the default biling module will be used, enabling fee processing through Verisign, then the security certificate will need to be installed. By default, the billing module included with OpenEFM will look for this file in the /var/OpenEFM/ directory. A copy of the test certificate is included and can be installed with the following command.
cp ./etc/f73e89fd.0 /var/OpenEFM/
Point your browser at https://localhost:8181/admin/. Substitute the installation machine name for 'localhost' if you are now on a different system. You may see a dialog similar to the one below, which is the browser notifying you that the server's SSL certificate is not signed by a Certificate Authority, such as Verisign. This is not a problem for demonstration purposes on a secured LAN. Click "Continue" and, if you like, "Remember this certificate permanently".
You now should be greeted by a login page. A newly installed system has one default account: username 'admin' and password 'changeme'. Login as this user.

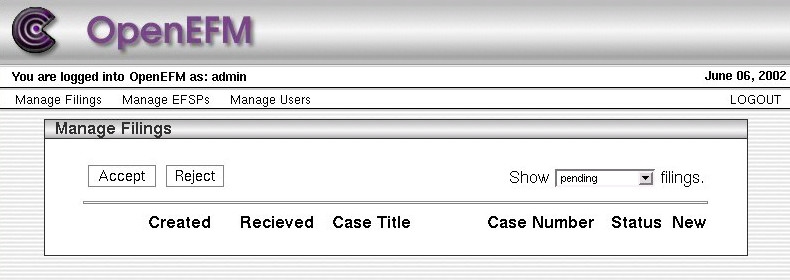
This will take you to the "Manage Filings" page. There are no filings yet, so you should click on "Manage Users" link in the menu bar. Now you can change the 'admin' password!
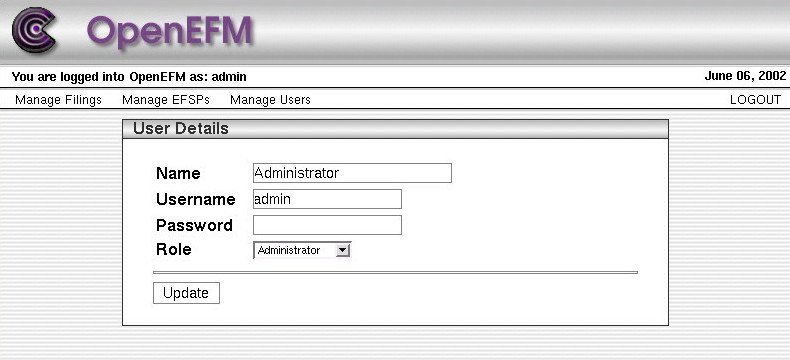
Click on the 'admin' user record (which should underline when you hover the mouse cursor above it). Next you will see the "User Detail" page. Change your Name and Password here and click "update". Before continuing, you might want to create a Clerk account as well.
Next we need to setup an account for an EFSP (Electronic Filing Service Provider) to test with. Click "Manage EFSPs". You need to add one EFSP for the test in the next section. Enter whatever values make sense to you and click "Add". (I'll use 'Test', 'test', and 'pass' for the rest of this guide.)

Now you are ready to test the system by filing some LegalXML!
To test the system, we need to emulate an EFSP connecting to the
public interface. The distribution contains a simple client
program to allow you to test your installation. Run the filing-client.sh
script, in the ./bin directory, without arguments to get
a usage statement.
cd bin
./filing-client.sh

Usage: FilingTest -fFILING_ENVELOPE [-cCOURT_DOCUMENT] [-iPAYMENT_INFO] [-HHOST] [-PPORT] [-UPATH] [-uUSERNAME] [-pPASSWORD] [-rREPEATS]
So, we need a sample document to file. We have provided just
such a file within the ./sample directory. Now try,
./filing-client.sh -f../sample/OXCI/FilingSubmissions.xml -utest -ppass
If everything worked correctly, the content of the "e-filing" you have just submitted should be displayed. (This may be quite a lot of output.)
If your JDK does not have JSSE properly installed, you might see somthing like this:
Failed to submit filing due to: ; nested exception is: java.net.SocketException: SSL implementation not available
Now take a look at the web interface again. Click to "ManageFilings" and you should see three pending filings.

Congratulations! You have just e-filed LegalXML documents with the OpenEFM! To view the details of a filing and view attached documents, click on any part of a record. You should see a page like this one:

From this page, you can "Accept" or "Reject" this filing by clicking the appropriate buttons. You can also view the original LegalXML by clicking the button at the upper right. To view an attached document, click the "View" button at the end of the listing.
The OpenEFM handles all the steps required to receive and manage
electronic filings except for the "last mile" to a court's Case
Managment System (CMS) or Document Management System (DMS). This was necessary to allow the OpenEFM
to be useful to everyone, regardless of the particular management system they are
running. We have provided a simple interface, the CMS and DMS Adapters,
which must be implemented for each system. These adapters handle
the task of importing a LegalXML document into the CMS or DMS. We have
provided convenience methods to make this process as simple as
possible. However, for the OpenEFM to be of value, this work must
be done. See the Developer's Guide for details.
Of course, a CMS Adpater already exists for counterclaim's flagship product, fastLaw. We are eager to collaborate with all courts and vendors to create new CMS Adapters for other systems. Please call us at 541.484.9235 or send email to openefm@counterclaim.com to explore your options.
Update Author: Jason Van Cleve
Version: 04.12.2004
Original Author: Nathan Probst
Version: 06.06.2002